KeySmart Original Assembly Instructions
Thank you for purchasing a KeySmart Original with an 8 key, 14 key, or 22 key expansion pack! On this page we'll show you how to add your keys. We'll also cover some tips to help you get the best experience with your new KeySmart Original.
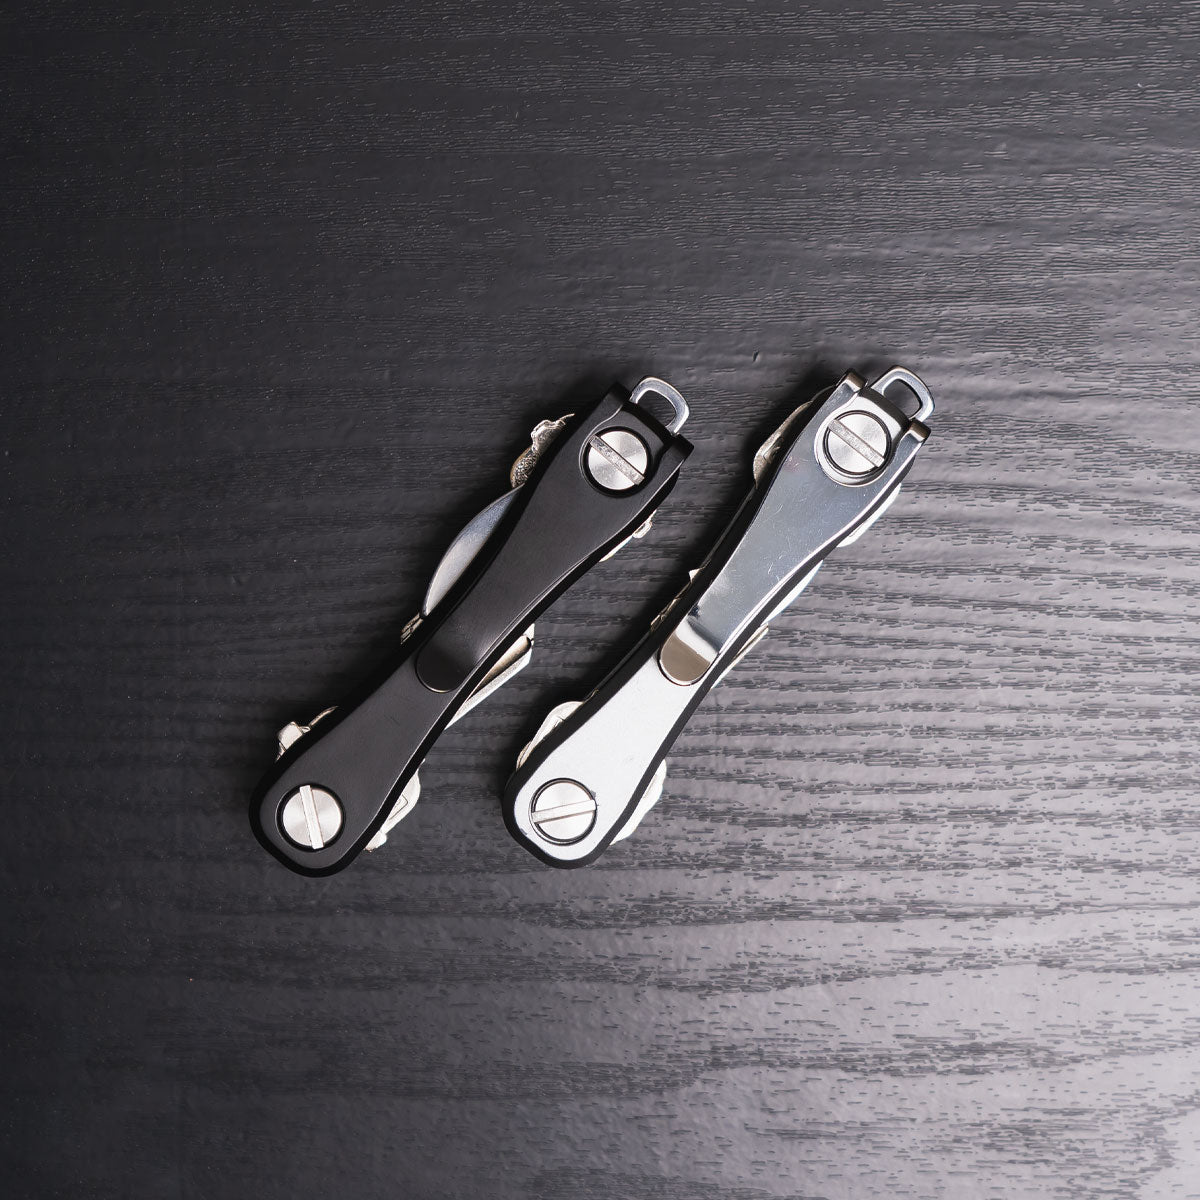
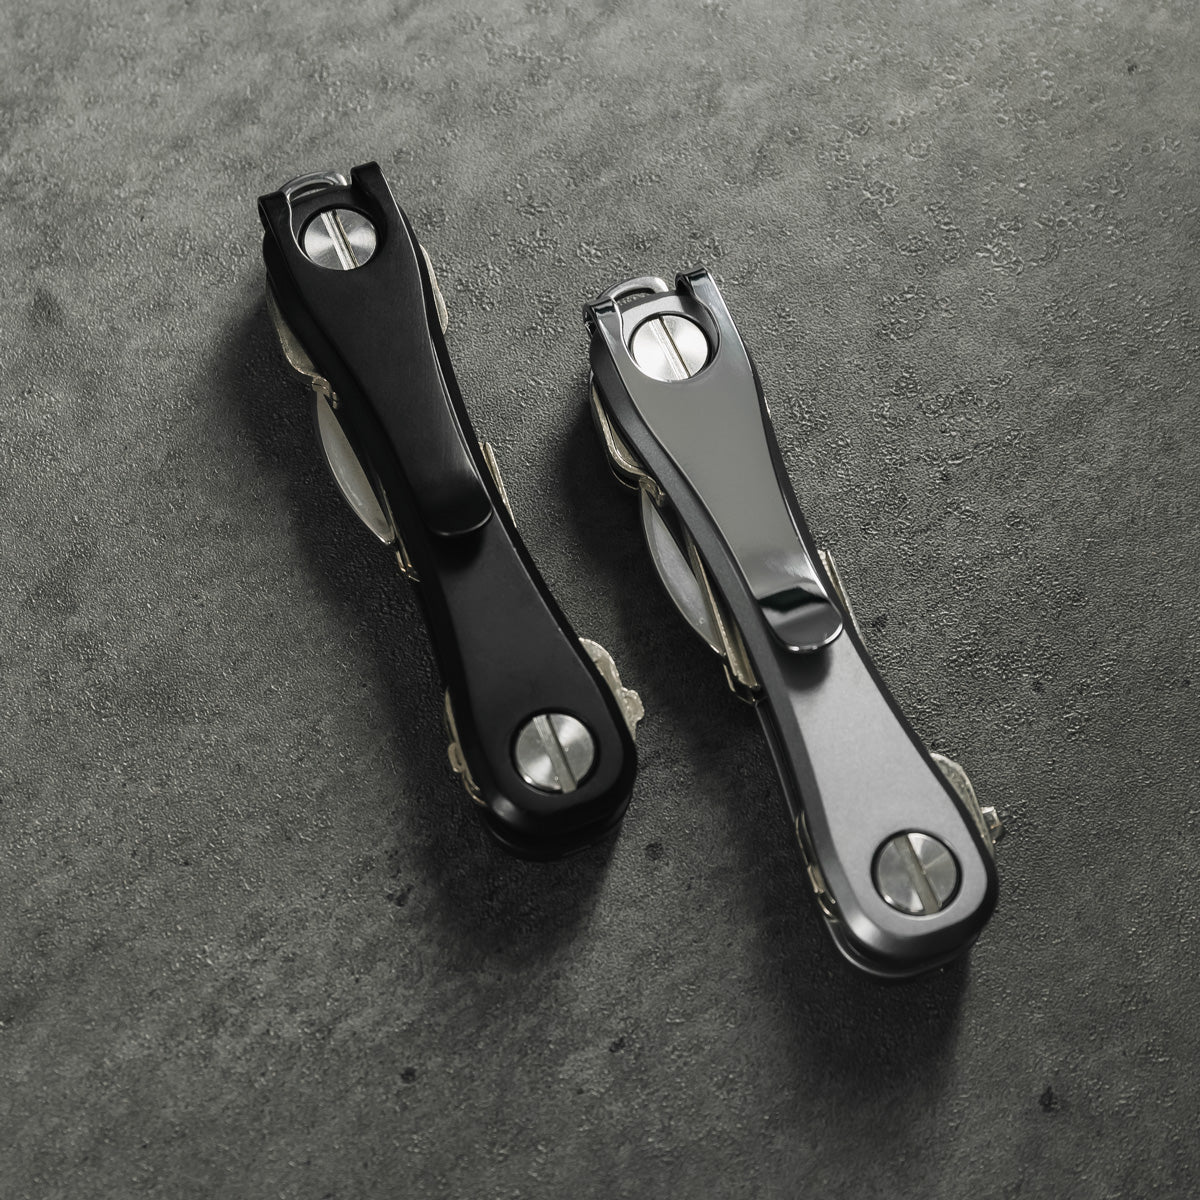
How To Assemble Your KeySmart Original with 8-14 Keys
- Remove both screws from your KeySmart.
- Remove the back plate, loop piece, and spaces and set aside. Lay your KeySmart face down with posts up.
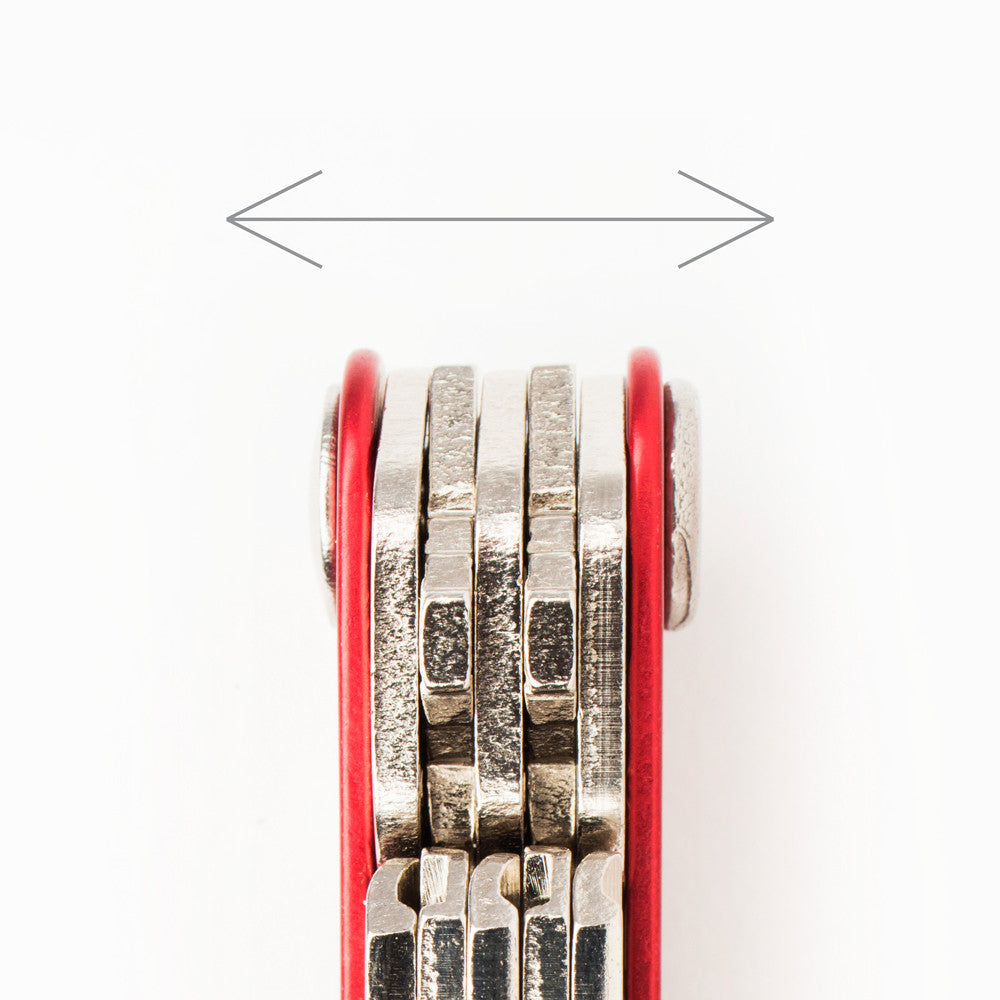
- Tip, Layout your keys before you begin assembling to ensure an even stack on each side.
- Stack your keys onto the post, you can fit up to 4 keys on each side.
- Place the back plate on top of the keys and secure each side with the included screw.
- Tip: If you have an uneven amount of keys, use spacers to make sure that the plates are even.
How To Assemble Your KeySmart Original with More Than 14 Keys
- Remove both screws from your KeySmart.
- Remove the back plate, loop piece, and spaces and set aside. Lay your KeySmart face down with posts up.
- IMPORTANT: When using the expansion pack, you must get rid of the screws that are included with your KeySmart.
- Unpack your expansion pack and add an equal number of posts to each side of the KeySmart.
- Tip: Layout your keys before you begin assembling to ensure an even stack on each side.
- Stack your keys onto the post, making sure to add spacers until you reach the top of the post.
- Place the back plate on top of the keys and secure each side with the included screw.